Steps:
Step1: First you need to have the following tools
- 1. 8GB + USB Drive
- 2. Kali-Linux
- 3. Win32 Disk Imager
- 4. MiniTool Partition Wizard
Download Links
Kali Linux: Click
me to download
Partition Tool: Click me to download
Win32 Disk Imager: click me to download
Step2: After you download all files connect your USB
to your computer.
Step3: Now open the setup file of win32 Disk Imager
software and install it.
Step4: open your win32 disk imager. It looks like
this.
Step5: now locate your kali Linux image file that you
downloaded last time. and select your image file.
Step6: Setup your drive name. as my pen drive is [G:\]
device.
Step7: remember that your pen drive must be formatted
in FAT32 if not then format your pen drive.
Step8: come back to the win32 disk image and click on
write, after that you will get a warning message that will confirm overwrite,
then click on yes. After that, your Linux image will start to load in your Pen Drive.
Step9: will start to load the kali Linux image file on your pen
drive, Note: this process can take more time.
Step10: if completed then it shows like this. Then click
on ok. And exit.
Step11: now install your partition wizard. After you
install a partition wizard software. Lunch that application.
Step12: After you open you will see the three
partitions that we created from win32 disk image software.
Step13: now in unallocated, right-click on it and click
on create. After that, you will get a warning message to continue and click on
yes.
Step14: in creating as select primary. We
will create this partition as primary. The select file system
as Ext4. In partition label: persistence. After all
of that changes click on ok.
Step15: After that click on apply and click on yes
this will start changing your partition.
Step16: To complete this process may take 10 to
15min.
Step17: after complete apply changes on the partition. Close
your all program because now you need to restart your computer.
Step18: Now boot your system from USB. In the boot menu, I
will select my USB pen drive.
Step19: Click on Live USB Persistence. This will
start to boot your Kali Linux.
Step20: the partition that we created last time had
been mounted as you can see in the below picture.
Step21: Open your terminal windows.
Step22: in command type fdisk
-l. this will check the disk partition.
Step23: my pen drive is /dev/sdb3. Now we will
create a directory.
Step24: type mkdir -p
/mnt/name. in name, you can select any random name as you like.
Step25: type mount /dev/sdb3
/mnt/myhult/. Remember that mount your pen drive as in my case /dev/sdb3
but in your case, that may be different. In /mnt/myhult/ I enter because last
time I name it as myhult.
Step26: type mount echo “/union”
> /mnt/name/persistence.conf.
Step27: type unmount /dev/sdb3.
In sdb3 type your partition name.
Step28: I will show you that we create a config file.
Open that persistence.conf file. There must be the same that we write last time
as a union. If not written then that may not work.
Step29: reboot
your system. You can just type the command on the terminal as a reboot.
Step30: boot your computer from a pen drive. Select the
same boot menu that we select last time > live USB persistence one.
Step31: now check whether is really working or not I will
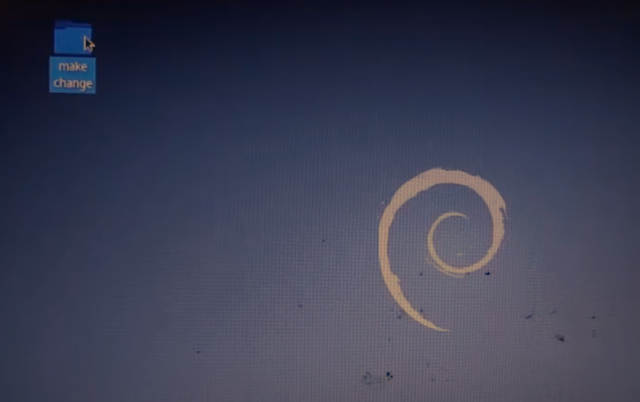
just create one folder on the desktop and also, change my desktop wallpaper. Now
reboot your system.
Step32: now again boot your system from live USB persistence.
We will see if the last time we changed will be saved or not.
Step33: I checked that it’s working.
thanks for reading this article. let me know what you think
of this article in the comment section and don’t forget to share it with your
friends.


0 Comments